Merida dress tutorial
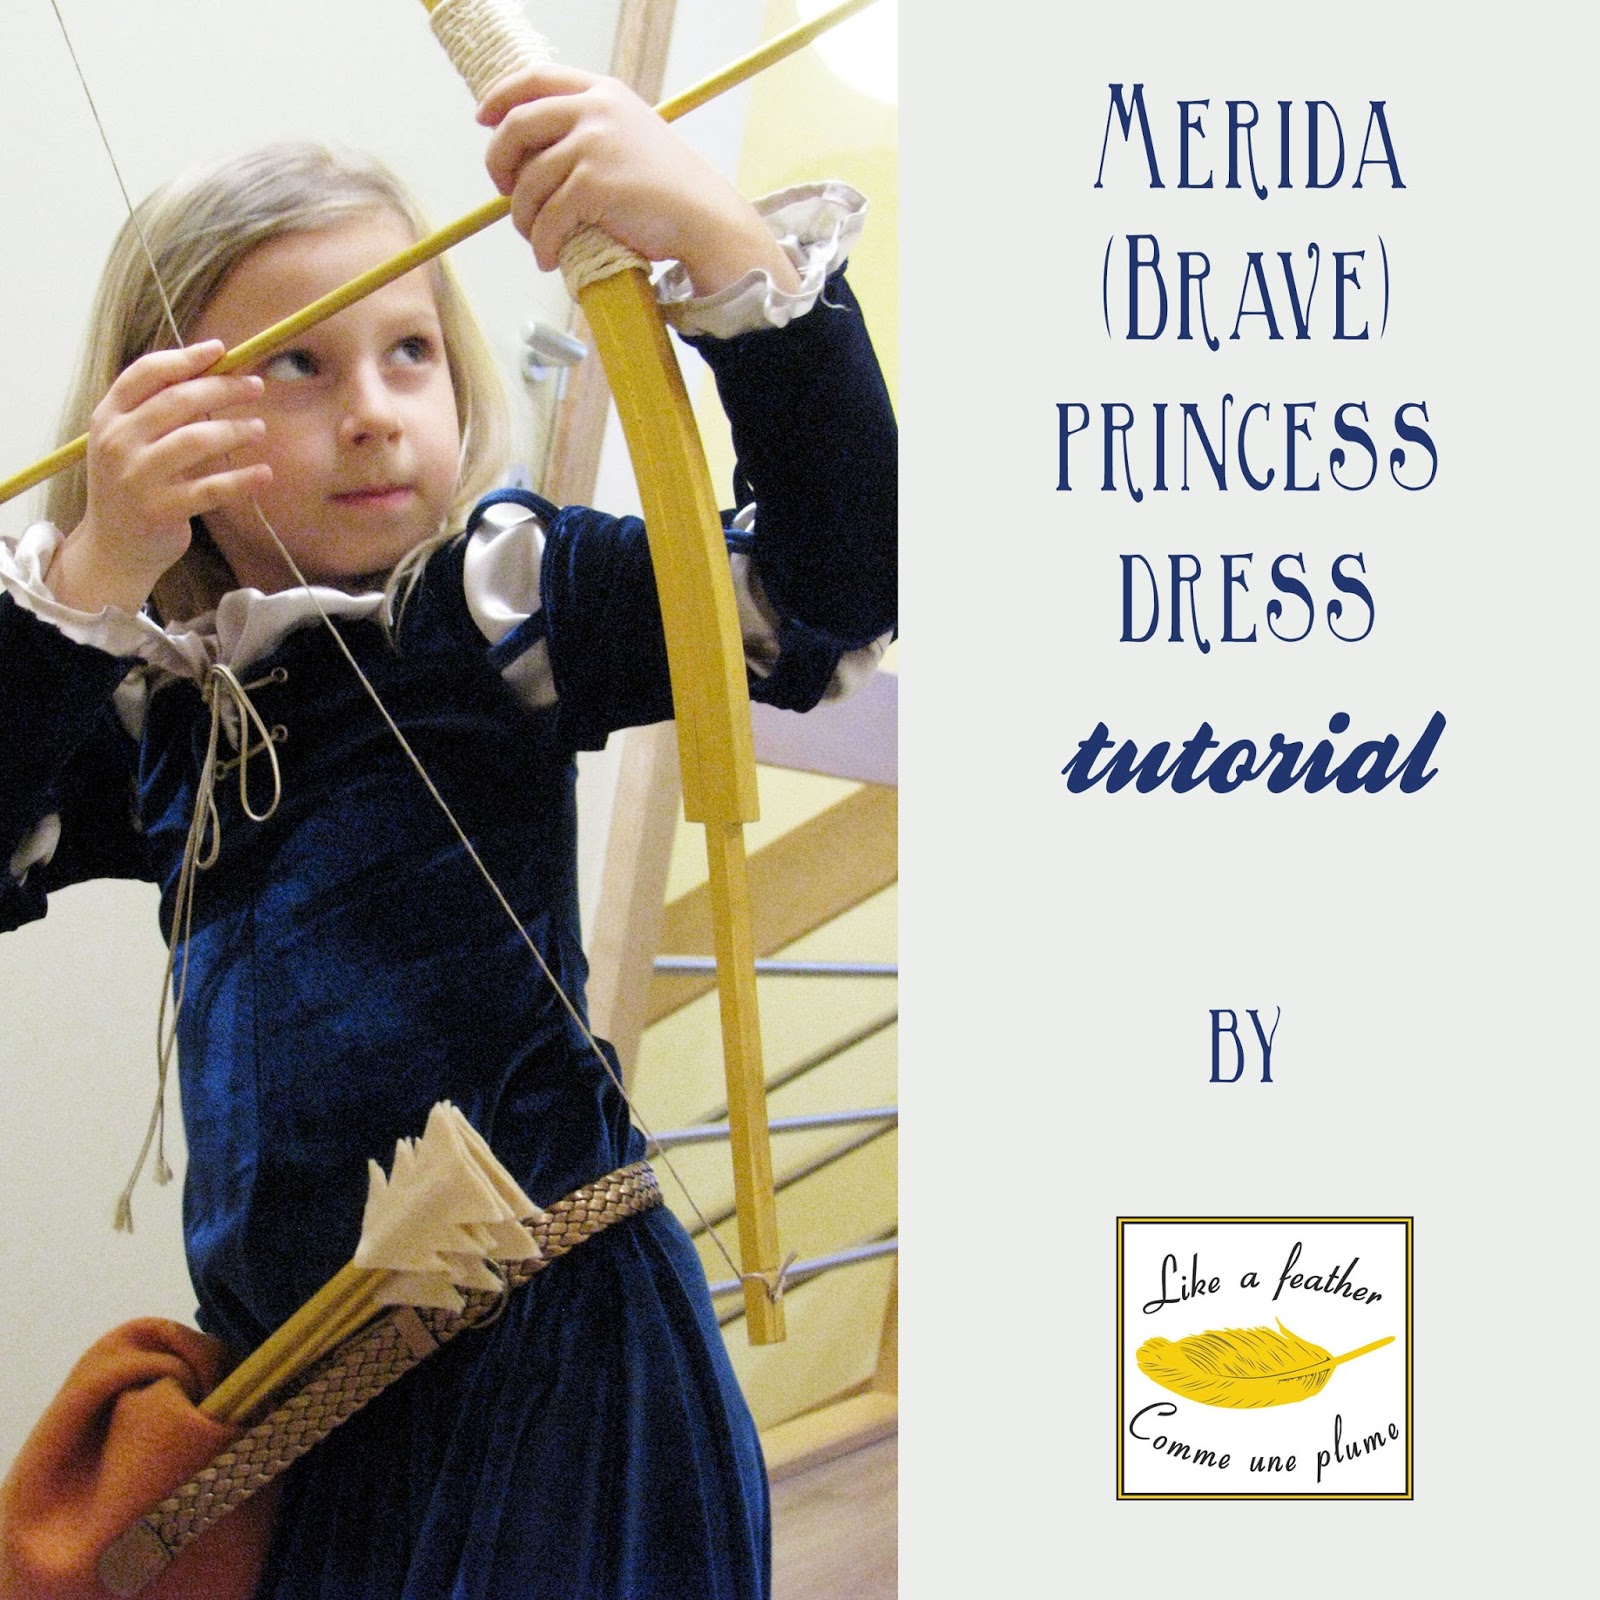


As you will see, it was really not difficult to make. Read my instructions and I am sure you can do it as well!


The dark blue
part of the dress:
I used the dark blue
stretch velvet as the main fabric. Pay attention when cutting the velvet: you
always have to cut in the same direction, otherwise the different parts of the
dress will look like made from different colour of fabric! If your material does
not ..., you do not have to serge it. Otherwise, you will prefer to
serge/zig-zag stitch it as you go.

The main body of the
dress is made of 4 same parts: two front pieces and two back pieces. So first
you have to make the pattern for that. Later on you will sew the sleeves and
attached them...
1/ First of all, make a quick pattern of the dress by folding a tee in half and tracing around it. The bodice is in fact much like a simple tee except there is the zipper on the back. You need to draft just one piece that corresponds a half of the front/back part.


4/ Then sew
the front and back pieces together at the shoulder
seams.
5/ If possible, put the dress on your
daughter to verify the measurements. Pin the side
seams on her and then sew
them. Press the seams open.
6/ Use the ribbon or the bias tape to finish the neckline while still leaving that small opening
on the front. Put the eyelets on both sides of that opening.
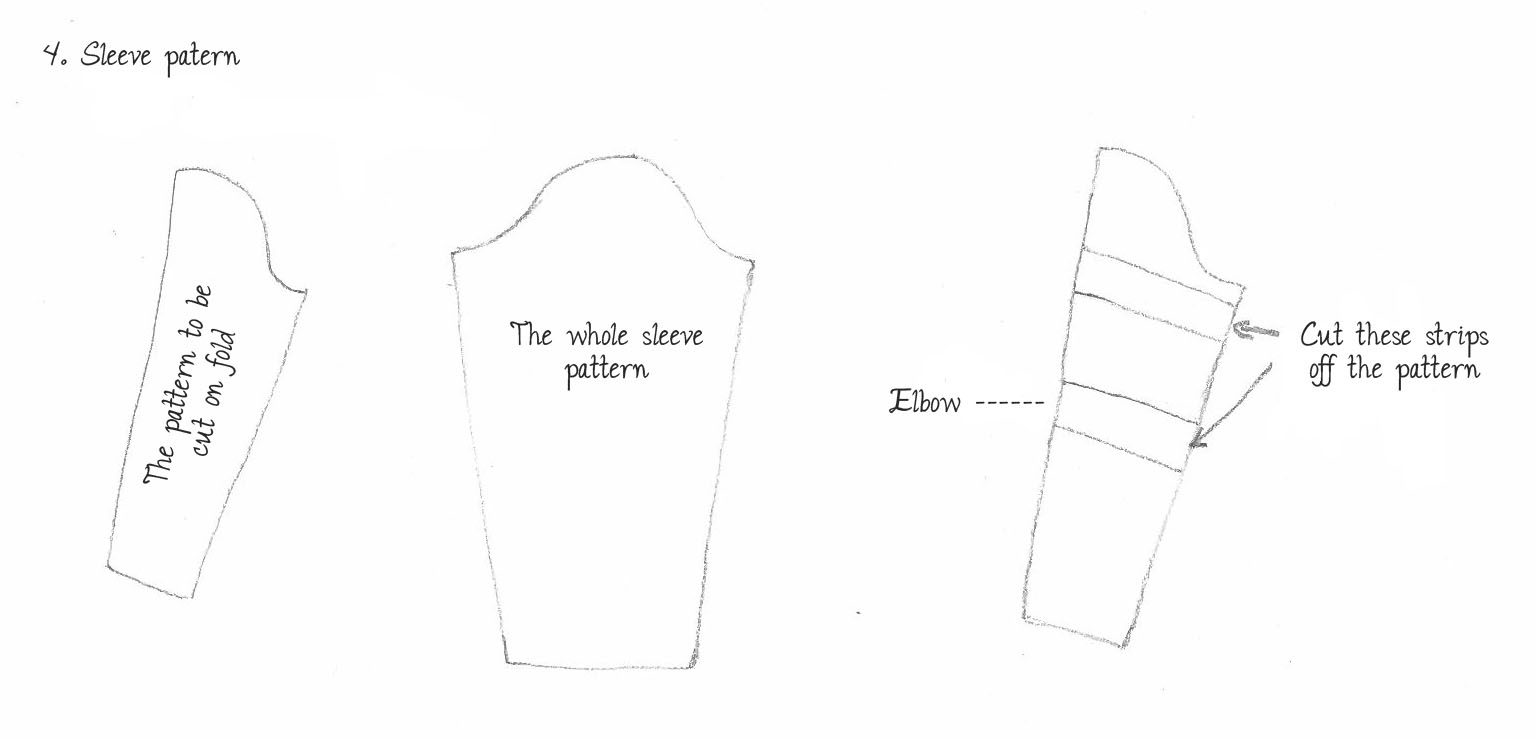
7/ Now draft the sleeve pattern either using the same tee you used to draft the bodice or using the pattern of the bodice. Make sure the length of the sleeve is accurate. Then mark the two large strips on the pattern. One of them should be where your child´s elbow is. Cut these off. Your sleeve pattern is done.


10/ Place your sleeves inside your dress, pin them and
stitch. You have finished the main part of the dress. Now you will just add
some small but important details.
Off-white
part of the dress
I used
the polyester normally used for the lining of the skirts/jackets etc. as I
found it in my stash. It would be very nice if you use the
white/off-white/light grey/cream satin. You have 2 options: you can sew the
whole blouse with the ruches at the bottom of the sleeves and around the
neckline and then to stitch it to the dress. Or you can sew just the ruche
around the neckline and the sleeves. That´s what I did as I did not have enough
fabric. So here´s how I proceeded:
1/ Sew the two sleeves. You can use
the same sleeve pattern but you have to cut it much larger to have the desired
effect. Sew a ruche at the bottom of each sleeve. Put your sleeves inside the
dress sleeves and stitch them together on the shoulders, as well as at the
bottom.
2/ Prepared the ruche, fold it
horizontally and attach it to the neckline.

Your
dress is done. Put some ribbon
to the eyelids and
voila! Your princess can go to the party!
Happy sewing.
Zuzana
NB: If you use my tutorial, I would appreciate if you send me the pictures (by email via contact link or copy & paste the link to your blog or post the pictures on my Facebook profile... There are other ways, of course...

Comments