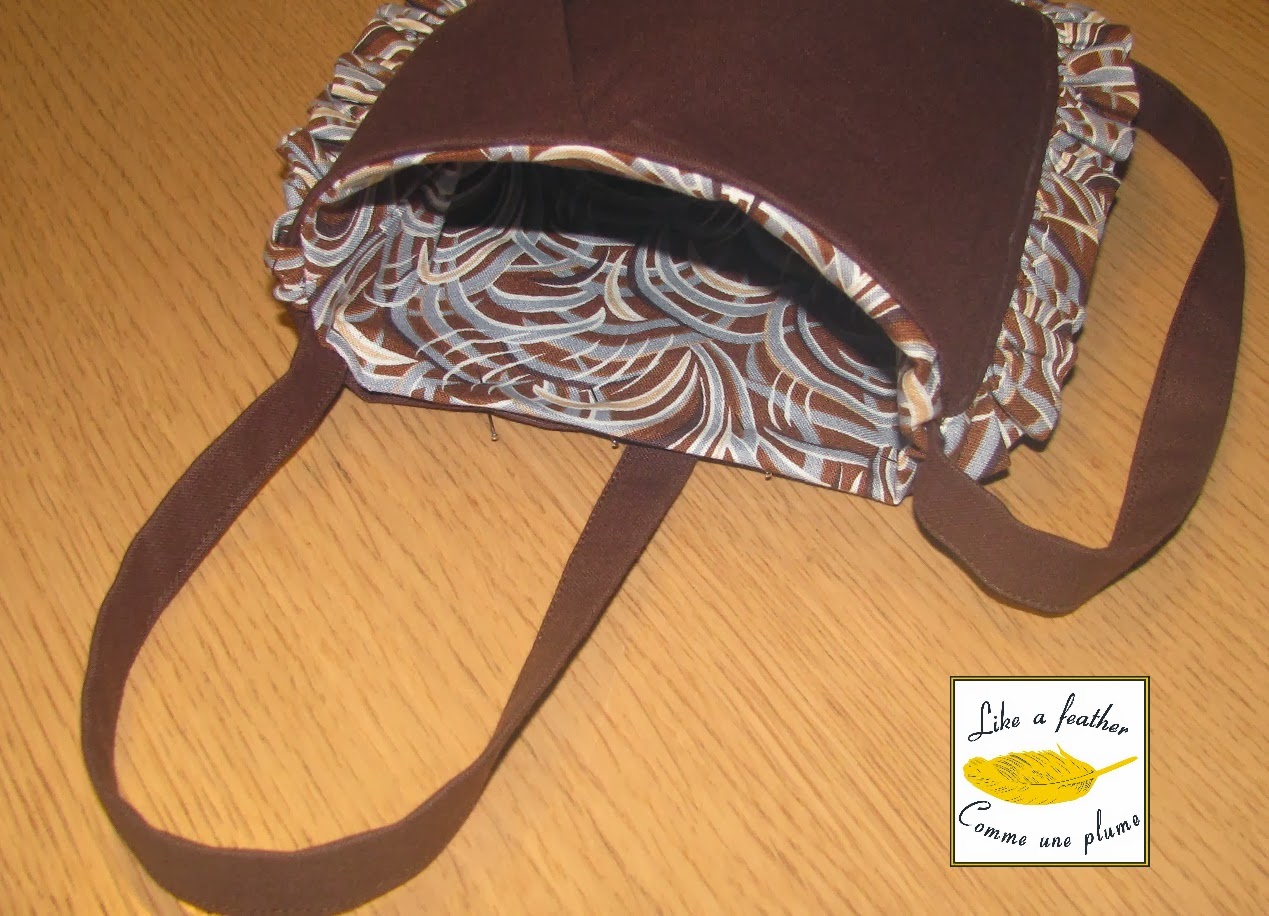
August bag
Pour afficher ce message en français, cliquez ici.
Here is the accessory that you have already seen on the photos of the August blouse where I also promised you the tutorial. I wanted to sew a bag for my daughter while she was away on holiday. She loves the presents and she loves the surprises! So I made a bag to please my little princess and now I am going to write a tutorial to please YOU! :-) When will I have better occasion to give you my first real tutorial if not today, on Valentine's day... ;-)
In the case you use this tutorial, I am looking forward to see the pictures of your creation and of course I would really appreciate your feedback (do you find the tutorial clear enough? are there any errors in it? did I forget to mention anything important? etc.).
You will need:
40 cm of the main fabric (fabric 1)
40 cm of the contrasting fabric (fabric 2)
1 button for the decoration (optional)
the free pattern
1/ First of all, print the pattern. It is supposed to be printed on A4 format paper. You can enlarge the pattern while printing if you wish to. Cut the pattern pieces (cut the piece A once in fabric 1 and twice in fabric 2. Cut the piece B once only - in fabric 1). The seam allowance of 1 cm is included and marked on the pattern.
2/ For the ruffle, cut a strip 95 - 100 cm long and 8 cm large in fabric 2. As I did not have enough fabric left, I used two shorter strips that I had sewn together.
3/ To make a shoulder strap cut a strip 78 cm long and 4-5 cm large.
4/ Prepare the lining: sew two pieces of the bag in fabric 2 right sides together on three sides. Do not sew to the borders of the fabric (app. 1 cm - seam allowance). Turn the bag lining inside-out and press the borders.
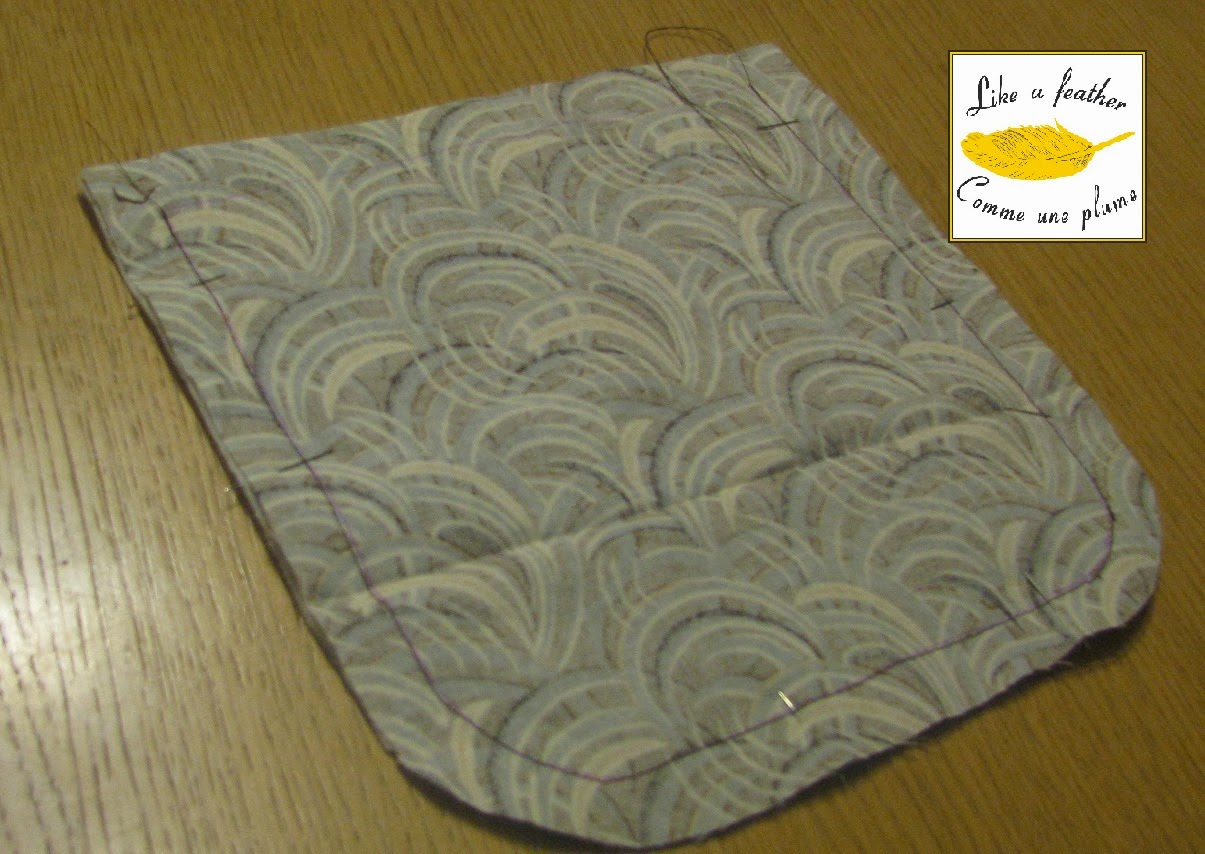
5/ Prepare the folds on the front piece of the bag: on the wrong side of the fabric pin the folds according to the markings on the pattern. Please, disregard the white lines on the picture - I made this bag without pattern and I drafted the pattern for you afterwards, so now you are just to follow the markings on it.
6/ It should look like that from the other side :
7/ Prepare the ruffle: fold the strip in half lengthwise and press.
8/ On the side of the opening, make two parallel lines (0.5 and 1.5 cm from the edge) in long points.
Pull both bobbin threads until you get the same length as the three edges of the bag on which you will sew the ruffle.
9/ Pin the ruffle on the three sides of the bag.
11/ Sew it together on the three sides. Turn it inside out and press.
12/ On prepare the shoulder straps: fold both edges and press. Then fold again in half, press and topstitch very close to edge.
14/ Then turn it (i.e. put the lining into the bag properly), press the edge already sewn and fold the rest which is still to be sewn. Then press the folded edges.
15/ Pin the rest of the bag all round.
16/ Do not forget to pin and sew the straps, as well! Me, I have decided to leave the edges of the lining exceed a little. That´s up to you to decide whether you prefer the edges of your lining to be visible or not.
17/ The last step is to sew all together - I mean to topstitch it all around. Voilà…
You have a cute little bag for a little girl you love J
Happy Valentine´s day!
Zuzana


Comments